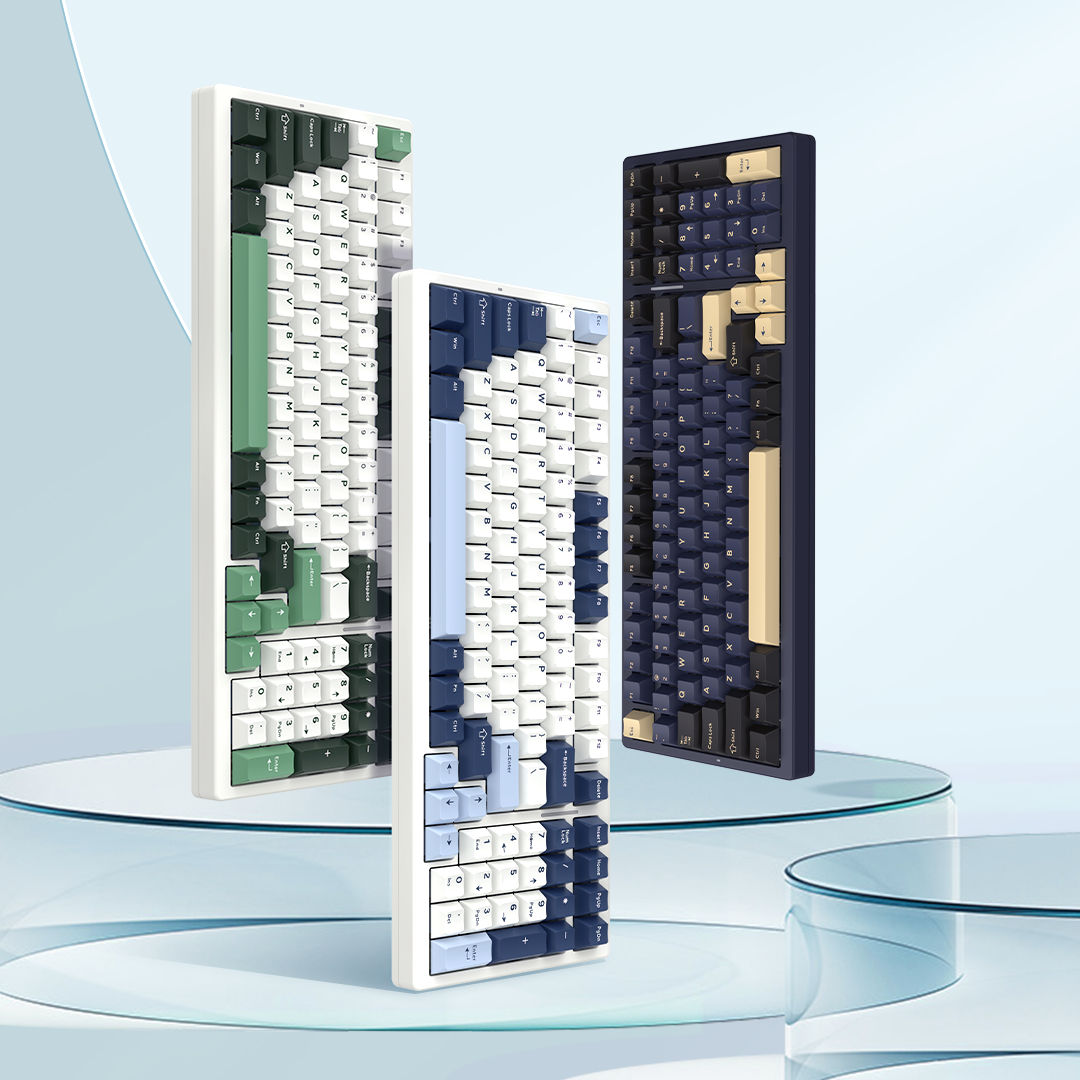
How to Swap Keycaps and Switches on a Mechanical Keyboard?
Maybe your keycaps have worn down, with glossy surfaces or faded legends that ruin the look of your desk setup. Or perhaps your switches feel sticky, inconsistent, or too loud for your environment. Beyond fixing wear and tear, though, replacing keycaps and switches lets you customize: choose vibrant, themed keycaps to reflect your personality, switch to tactile switches for typing precision, or install linear switches for faster gaming strokes in even the best gaming keyboards. Even small changes can drastically improve comfort, sound, and performance—all without buying a brand-new keyboard. In this guide, we’ll walk you through the tools and steps needed, and share pro tips for advanced modifications.

Tools needed to replace your keyboard keycaps/switches
Upgrading your keyboard’s keycaps and switches requires a few essential tools to ensure the process is smooth, safe, and damage-free. Whether you’re a beginner or a seasoned modder, having the right gear on hand will make all the difference. Below is a breakdown of must-have tools, optional upgrades, and pro tips for choosing the best equipment for your needs.
1. Essential Tools for Every User
a. Keycap Puller
Purpose: Safely remove keycaps without damaging stems or caps.
Types:
Wire Puller: The most common type (e.g., Cherry-style), ideal for all keycap sizes and profiles. It hooks under the keycap’s edges and lifts evenly.
Plastic Puller: A compact, handheld tool with a U-shaped notch, great for quick removal but less durable than wire versions.
Tip: Avoid using tweezers or pliers—they can crack keycaps or bend stems!

b. Switch Puller (for Hot-Swappable Keyboards)
Purpose: Remove switches from the PCB without damaging the socket or switch pins.
Design: Most have a two-pronged head that fits around the switch legs, allowing you to lift it straight out.
Note: If your keyboard isn’t hot-swappable, you’ll need soldering tools (soldering iron, desoldering pump, flux) for switch replacement—a more advanced setup. We recommend professional service for non-hot-swappable boards unless you’re experienced with soldering.

c. Cleaning Supplies
Compressed Air Canister: Blow away dust and debris from under keycaps and switches.
Microfiber Cloth + Isopropyl Alcohol: Wipe down keycaps and the keyboard base to remove oils and grime (especially important for reused caps).
Tweezers: Pick out stubborn lint or small particles from switch sockets.

2. Optional Tools for Advanced Modding
a. Switch Lubricant Kit
Purpose: Reduce friction in switches for smoother keystrokes and quieter operation (common in tactile or linear switch mods).
Included: Lubricant, a small brush or applicator, and a switch opener to disassemble switches.

b. O-Rings
Purpose: Soften keystroke sound and reduce bottom-out force by cushioning the switch impact.
Types: Thickness varies (e.g., 1.5mm, 2mm) for different sound and feel preferences.
Tip: Pair with linear switches for a silent setup in the best gaming keyboards!

Before you start, gather:
✅ Keycap puller
✅ Switch puller
✅ Cleaning supplies (compressed air, cloth, tweezers)
✅ Optional: Lubricant, O-rings
With the right tools, replacing keycaps and switches becomes a straightforward, enjoyable project—whether you’re refreshing your setup or diving into full-scale modding.
Process for replacing keyboard keycaps and switches
1.Prepare Your Workspace
Power Down: Unplug your keyboard or disconnect Bluetooth to avoid accidental input during the process.
Gather Tools: Have your keycap puller, switch puller (for hot-swappable), cleaning supplies, and new keycaps/switches ready.
Organize Parts: Place removed keycaps/switches in a labeled tray to avoid mixing up layouts (especially important for non-standard keys like split backspaces or 60% layouts).

2.Remove Old Keycaps
Step 1: Use a Keycap Puller
Wire Puller: Insert the two prongs under the keycap’s bottom edges (avoid the stem), then gently lift straight up. Don’t twist—this can crack the keycap or bend the stem.
Plastic Puller: Align the U-shaped notch around the stem, squeeze the handles, and pull upward.

3.Clean the Keyboard Base
Spray compressed air between switches to remove dust or debris.
Wipe the surface with a microfiber cloth dipped in 70% isopropyl alcohol to eliminate oils and grime.

4.Remove Old Switches
Insert the switch puller’s prongs into the small slots on either side of the switch (near the PCB).
Gently pull upward until the switch detaches from the socket. Don’t force it—if it sticks, wiggle the puller slightly to loosen.

5.Prepare New Switches
Check the switch orientation: Most have a “+” symbol on the top to indicate the correct alignment (matching the socket’s polarity).
For 5-pin switches on 3-pin sockets: Clip the two extra legs with flush cutters (leave the central and two side pins intact).

6.Install New Switches
Align the switch pins with the PCB sockets, then press firmly until it clicks into place. Ensure the switch is level with the board—loose switches may not register correctly.

7.Test Switches (Critical!)
Reconnect your keyboard and use an online tester to check if all switches register presses. Fix any misaligned or loose switches immediately.

8.Install New Keycaps
Match each keycap to its switch stem, ensuring the legend is oriented correctly (e.g., arrow keys have specific directions).
For sculpted keycaps (e.g., SA, XDA profiles), follow the keyboard’s row curvature (e.g., row 1 caps go on the top row, row 4 on the bottom).
Push the keycap straight down onto the stem until it clicks. Avoid tilting—this can cause uneven seating or wobbly caps.

9.Final Checks & Adjustments
Test Key Stability: Wiggle each keycap to ensure it’s secure. Loose caps may need re-seating.
Clean Again: Wipe down new keycaps with a dry cloth to remove fingerprints or manufacturing residue.

Troubleshooting Common Problems
Even with careful planning, swapping keycaps and switches on the best mechanical keyboard can come with hiccups. Below are the most common issues users face—and how to fix them quickly.
1.Keycaps Won’t Come Off (Stuck or Damaged)
Why It Happens
Using the wrong tool (e.g., tweezers instead of a puller), forcing caps off, or years of grime buildup.
Stems may be cracked or melted (common with cheap ABS caps exposed to heat).
How to Fix It
Gently Wiggle + Lubricate: Insert a thin plastic card (like a credit card) under the keycap edge to pry slightly, then use a keycap puller. For stubborn caps, apply a drop of isopropyl alcohol around the stem to dissolve sticky residue.
Replace Damaged Stems: If the stem breaks off inside the cap, discard the cap (it’s rarely salvageable). For switches with bent stems, use needle-nose pliers to straighten very carefully—or replace the switch entirely.

2.Switches Don’t Register Keypresses (Hot-Swappable Boards)
Common Causes (for the best mechanical keyboard)
Misaligned Pins: Switches weren’t fully pressed into the socket, or pins are bent.
Socket Debris: Dust or lint blocking the connection between the switch and PCB.
Dead Switches: A faulty new switch (rare, but test before installation!).
Troubleshooting Steps
Reseat the Switch: Pull it out and reinstall, ensuring it clicks into place. Check for a gap between the switch and PCB—if present, press harder.
Straighten Pins: Use tweezers to gently bend misaligned pins back to 90 degrees (avoid bending them more than once, as they’ll snap).
Clean Sockets: Use a toothpick or needle to remove debris from the socket holes, then retest.

3.Switches Feel Stiff or Sticky
Common Culprits
Dry switch springs or housings (common with budget switches), or debris inside the switch.
Solutions
Lubricate Switches: Disassemble the switch, apply a thin layer of lubricant to the stem and springs, then reassemble.
Clean Switches: For reusable switches, rinse them in isopropyl alcohol (avoid submerging the PCB side) and dry fully before reinstalling.