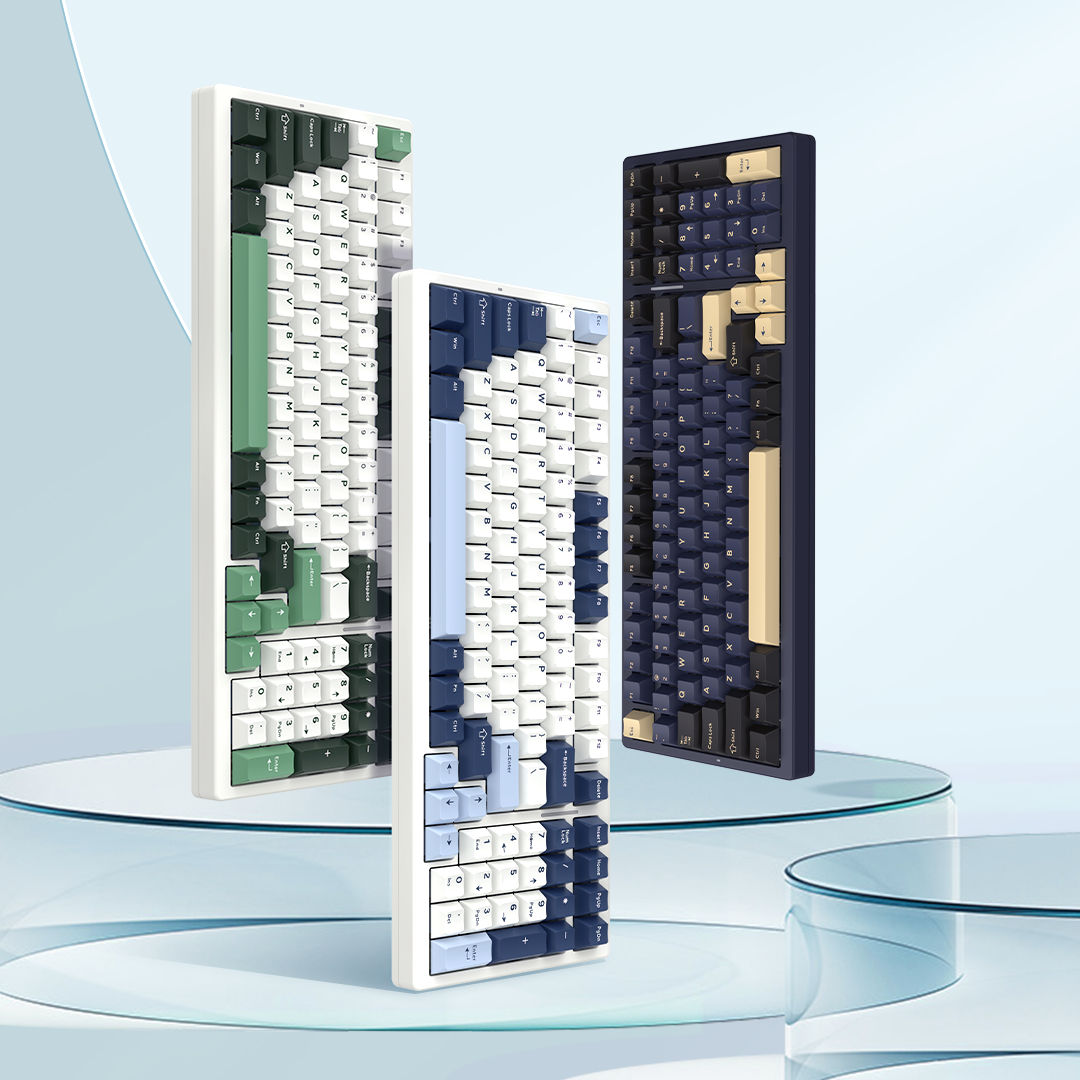

Mechanical Keyboard Features & Troubleshooting Guide
Introduction
This article provides a general introduction to the features and basic components of mechanical keyboards. The images shown are for reference only. The driver interface and available features may vary depending on the specific device model. Please refer to the actual driver software and product configuration for your device.
The device uses the USB protocol. The rated charging voltage for the keyboard and mouse is 5V. When charging the device, we recommend using a computer USB port.
Do not use wall chargers or fast-charging cables to charge the device.
Different chargers may have different voltage and current output specifications, which may cause irreversible damage to the device and negatively affect its battery life and overall service life.
General Mechanical Keyboard Terminology
Top Case
The top case works together with the bottom case to enclose and secure the keyboard’s internal components.
Keycaps
Keycaps are the components pressed by the user’s fingers. The underside typically features a cross-shaped stem that mounts onto the switch.
All currently available VGN keyboards support keycap replacement. Standard keycaps with a cross-shaped stem are generally compatible.
Switches
Switches are the core components responsible for detecting keystrokes and determining the keyboard’s typing feel.
Switches are generally categorized into:
· Tactile switches, which provide noticeable feedback during actuation.
· Linear switches, which provide a smooth and consistent keystroke.
Linear switches are currently the most common type. Different switches may also feature different spring weights, materials, and internal structures, resulting in different typing characteristics.
Plate
The plate secures the switches in place and has a significant impact on the keyboard’s overall typing feel.
Different plate materials provide different levels of stiffness and flexibility. From hardest to softest, the typical order is:
Brass > Steel > Aluminum > FR4 > PC
Case Foam
Case foam is used to reduce hollow or resonant sounds inside the keyboard.
The specific foam material may vary between keyboard models. Please refer to the official configuration of your product.
Gaskets
Gaskets are a core component of the gasket-mount structure.
They are installed around the plate. When the top and bottom cases are assembled, the gaskets sit between the plate and case, creating a softer mounting interface.
This structure can help produce a more pleasant acoustic profile and a softer, more flexible typing feel.
Back Film
The back film is an internal keyboard component designed primarily to improve the keyboard’s acoustic characteristics.
Switch Pad
The switch pad is installed beneath the switches and is primarily used to optimize the keyboard’s sound profile.
IXPE is currently the most commonly used material. Poron and EVA are also available, although they are less commonly used.
PCB
The PCB (Printed Circuit Board) is the keyboard’s main circuit board and one of its core components.
Some keyboards use a PCB with individual cutouts around each switch position. This design can help produce a more refined sound profile while also making the keyboard feel softer and more flexible.
Bottom Foam
Bottom foam is placed inside the bottom case to reduce hollow or resonant sounds.
Battery
The battery provides power for wireless keyboards when operating in wireless mode.
Bottom Case
The bottom case works together with the top case to enclose and secure the keyboard’s internal components.
Reference image: VGN V98Pro V2 — Ice Cream Switch / Sea Salt Edition

1. Common Issues & Troubleshooting
1.1 Key Dropouts, Key Failure, or Unexpected Activation
The core component of a mechanical keyboard is the individual switch located beneath each key. Different switch technologies use different methods to detect key input, including:
1. Traditional metal-contact mechanical switches — the most common type
2. Optical switches
3. Magnetic switches (Hall Effect switches)
4. Electrostatic capacitive switches
If your keyboard experiences issues such as:
· Key dropout: a key is pressed but no input is registered
· Key failure: a key becomes completely unresponsive
· Unexpected activation: a single press registers as a double press or repeated input
Follow the troubleshooting steps below.
1. Replace the Switch
Many switch-related issues are caused by dust, dirt, or oxidation on the electrical contacts.
For hot-swappable keyboards, the most effective solution is often to replace the affected switch with a spare switch.
2. Check the Driver and Firmware
Open the official keyboard software and check for:
· Available configuration options
· Firmware updates
· Device-related settings
Make sure the keyboard is running the latest applicable firmware.
3. Contact Customer Support
If the issue cannot be resolved using the methods above, please contact customer support for further assistance.
Note: The switch replacement troubleshooting method described above applies only to hot-swappable keyboard models.
1.2 Wired Connection Not Working
If the mechanical keyboard does not respond when connected to a computer via USB, troubleshoot the connection from the simplest steps to more advanced checks.
1. Try a Different USB Port
Disconnect the keyboard and connect it to another USB port on the computer.
2. Try a Different USB Cable
Replace the current data cable with another compatible USB cable.
Additional Notes
Try different USB ports on the computer, including both USB 2.0 and USB 3.0 ports.
For desktop computers, we recommend connecting the keyboard directly to a USB port on the rear I/O panel of the motherboard rather than using the front-panel ports, as this can help avoid potential power or connection issues.

1.3 Bluetooth Connection Not Working
If you experience problems connecting the mechanical keyboard via Bluetooth, troubleshoot the issue from the simplest steps to more advanced checks.
1. Check the Battery Level
Make sure the keyboard has sufficient battery power.
2. Check the Physical Mode Switch and Re-Pair the Device
Confirm that the keyboard’s physical mode switch is set to the correct Bluetooth position, then remove the existing Bluetooth pairing and pair the keyboard again.
3. Test Bluetooth with a Smartphone
If the keyboard connects normally to a smartphone via Bluetooth, the issue is most likely related to the computer, such as:
· Computer Bluetooth settings
· Bluetooth drivers
· Bluetooth version or compatibility
In this case, we recommend contacting the computer manufacturer for technical support.
4. Bluetooth Also Fails on a Smartphone
If the keyboard cannot connect to a smartphone either, the device’s Bluetooth function may be abnormal.
Please contact customer support for further assistance.
1.4 2.4GHz Wireless Connection Not Working
Unlike Bluetooth, 2.4GHz wireless connectivity typically uses a dedicated USB receiver and an independent RF communication system.
If the keyboard cannot connect in 2.4GHz mode, troubleshoot the issue from the simplest steps to more advanced checks.
1. Try a Different USB Port
Connect the USB receiver to another USB port on the computer.
We recommend testing both USB 2.0 and USB 3.0 ports.
2. Check the Battery Level
Make sure the keyboard has sufficient battery power.
3. Check for Device or Signal Conflicts
Check whether other wireless devices or strong RF signal sources are nearby and potentially causing interference.
4. Re-Pair the Keyboard and Receiver
If the above checks do not resolve the issue, follow the pairing procedure for your specific keyboard model.
For example, on the VGN V98Pro V2, the 2.4GHz forced-pairing procedure is as follows:
1. Press and hold Fn + 4 (the number row key above the letter keys) for 3–5 seconds.
2. When the wireless indicator begins flashing rapidly, connect the 2.4GHz receiver to a USB port on the computer.
3. The keyboard and receiver should then enter the pairing process.
Note: Pairing procedures and shortcut keys may vary between models. Please refer to the instructions for your specific device.