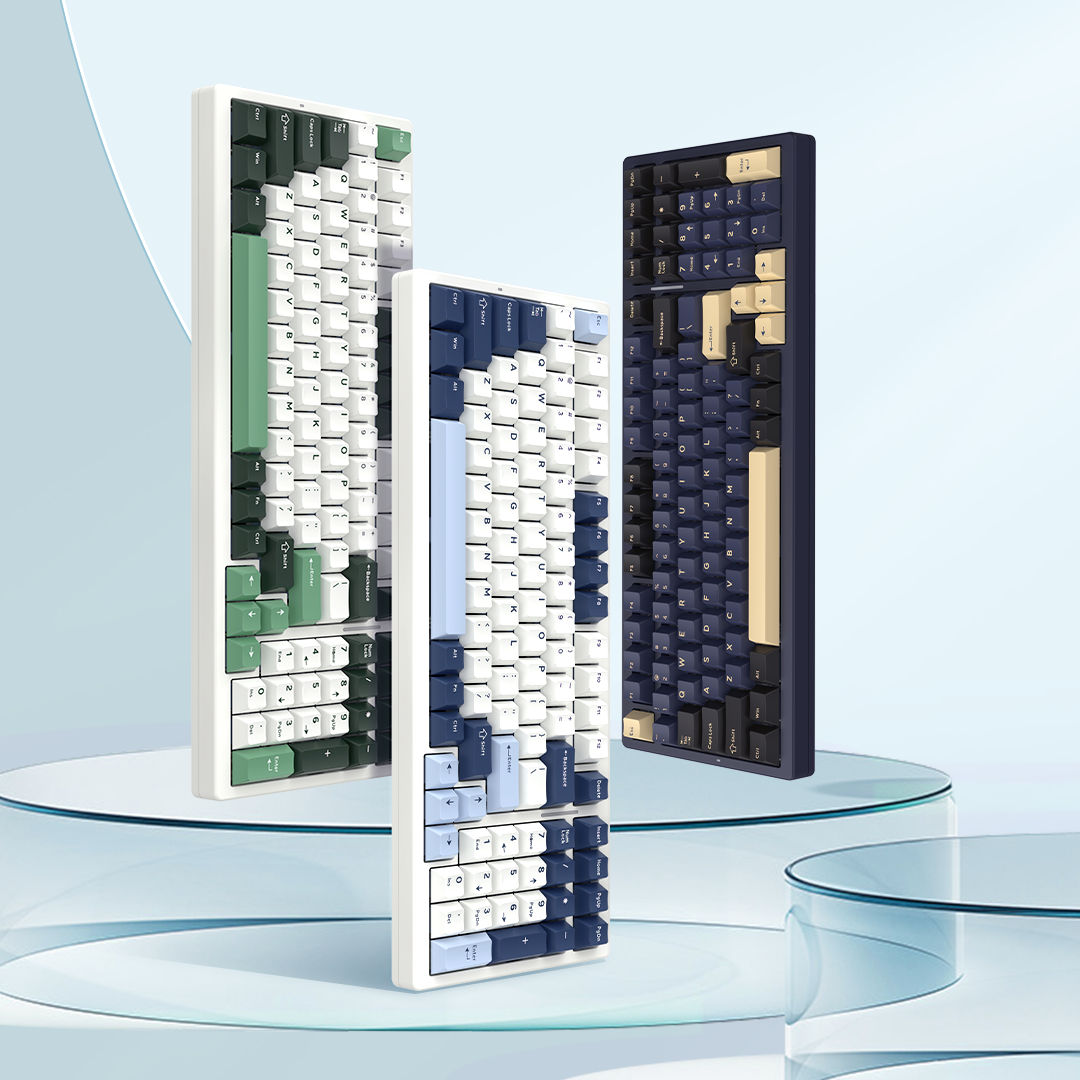

Guide des fonctionnalités et de dépannage des claviers mécaniques
Introduction
Cet article fournit une introduction générale aux fonctionnalités et aux composants de base des claviers mécaniques. Les images présentées sont fournies à titre de référence uniquement. L'interface du pilote et les fonctionnalités disponibles peuvent varier selon le modèle d'appareil spécifique. Veuillez vous référer au logiciel pilote réel et à la configuration du produit pour votre appareil.
L'appareil utilise le protocole USB. La tension de charge nominale du clavier et de la souris est de 5V. Lors du chargement de l'appareil, nous recommandons d'utiliser un port USB d'ordinateur.
N'utilisez pas de chargeurs muraux ni de câbles de charge rapide pour charger l'appareil.
Les différents chargeurs peuvent avoir des spécifications de sortie de tension et de courant différentes, ce qui peut causer des dommages irréversibles à l'appareil et affecter négativement sa durée de vie de la batterie et sa durée de vie globale.
Terminologie générale des claviers mécaniques
Boîtier supérieur
Le boîtier supérieur fonctionne avec le boîtier inférieur pour renfermer et maintenir les composants internes du clavier.
Capuchons de touches
Les capuchons de touches sont les composants pressés par les doigts de l’utilisateur. La face inférieure comporte généralement une tige en forme de croix qui se monte sur l’interrupteur.
Tous les claviers VGN actuellement disponibles prennent en charge le remplacement des capuchons de touches. Les capuchons standard avec une tige en forme de croix sont généralement compatibles.
Interrupteurs
Les interrupteurs sont les composants principaux chargés de détecter les frappes et de déterminer la sensation de frappe du clavier.
Les interrupteurs sont généralement classés en :
· Interrupteurs tactiles, qui fournissent un retour perceptible lors de l’actionnement.
· Interrupteurs linéaires, qui offrent une frappe fluide et constante.
Les interrupteurs linéaires sont actuellement le type le plus courant. Différents interrupteurs peuvent également présenter différents poids de ressort, matériaux et structures internes, ce qui entraîne des caractéristiques de frappe différentes.
Plaque
La plaque fixe les interrupteurs en place et a un impact significatif sur la sensation de frappe globale du clavier.
Différents matériaux de plaque offrent différents niveaux de rigidité et de flexibilité. De la plus dure à la plus souple, l'ordre typique est :
Laiton > Acier > Aluminium > FR4 > PC
Mousse de boîtier
La mousse de boîtier est utilisée pour réduire les sons creux ou résonnants à l'intérieur du clavier.
Le matériau de mousse spécifique peut varier selon les modèles de clavier. Veuillez vous référer à la configuration officielle de votre produit.
Joints
Les joints sont un composant essentiel de la structure de montage à joints.
Ils sont installés autour de la plaque. Lorsque les boîtiers supérieur et inférieur sont assemblés, les joints se trouvent entre la plaque et le boîtier, créant une interface de montage plus souple.
Cette structure peut contribuer à produire un profil acoustique plus agréable et une sensation de frappe plus douce et plus flexible.
Film arrière
Le film arrière est un composant interne du clavier conçu principalement pour améliorer les caractéristiques acoustiques du clavier.
Tampon de commutateurs
Le tampon de commutateurs est installé sous les commutateurs et sert principalement à optimiser le profil sonore du clavier.
IXPE est actuellement le matériau le plus couramment utilisé. Poron et EVA sont également disponibles, bien qu'ils soient moins couramment utilisés.
PCB
Le PCB (carte de circuit imprimé) est la carte de circuit principale du clavier et l'un de ses composants essentiels.
Certains claviers utilisent un PCB avec des découpes individuelles autour de chaque position de commutateur. Cette conception peut aider à produire un profil sonore plus raffiné tout en rendant le clavier plus doux et plus flexible.
Mousse inférieure
La mousse inférieure est placée à l'intérieur du boîtier inférieur pour réduire les sons creux ou résonnants.
Batterie
La batterie fournit l'alimentation des claviers sans fil lorsqu'ils fonctionnent en mode sans fil.
Boîtier inférieur
Le boîtier inférieur fonctionne avec le boîtier supérieur pour enfermer et sécuriser les composants internes du clavier.
Image de référence : VGN V98Pro V2 — Édition Ice Cream Switch / Sea Salt

1. Problèmes courants et dépannage
1.1 Touches non détectées, défaillance de touche ou activation inattendue
Le composant principal d'un clavier mécanique est le switch individuel situé sous chaque touche. Différentes technologies de switch utilisent différentes méthodes pour détecter la frappe, notamment :
1. Switches mécaniques à contact métallique traditionnels — le type le plus courant
2. Switches optiques
3. Interrupteurs magnétiques (interrupteurs à effet Hall)
4. Interrupteurs capacitifs électrostatiques
Si votre clavier rencontre des problèmes tels que :
· Perte de touche : une touche est enfoncée mais aucune saisie n'est enregistrée
· Défaillance de touche : une touche devient totalement insensible
· Activation inattendue : une seule pression est enregistrée comme une double pression ou une saisie répétée
Suivez les étapes de dépannage ci-dessous.
1. Remplacez l'interrupteur
De nombreux problèmes liés aux interrupteurs sont causés par la poussière, la saleté ou l'oxydation des contacts électriques.
Pour les claviers hot-swappable, la solution la plus efficace est souvent de remplacer l'interrupteur concerné par un interrupteur de rechange.
2. Vérifiez le pilote et le firmware
Ouvrez le logiciel officiel du clavier et vérifiez :
· Options de configuration disponibles
· Mises à jour du firmware
· Paramètres liés à l'appareil
Assurez-vous que le clavier exécute la dernière version du firmware applicable.
3. Contactez le support client
Si le problème ne peut pas être résolu à l'aide des méthodes ci-dessus, veuillez contacter le support client pour obtenir une assistance supplémentaire.
Remarque: La méthode de dépannage pour le remplacement des commutateurs décrite ci-dessus s'applique uniquement aux modèles de clavier avec commutateurs remplaçables à chaud.
1.2 La connexion filaire ne fonctionne pas
Si le clavier mécanique ne répond pas lorsqu'il est connecté à un ordinateur via USB, résolvez le problème de connexion en commençant par les étapes les plus simples jusqu'aux vérifications plus avancées.
1. Essayez un autre port USB
Débranchez le clavier et connectez-le à un autre port USB de l'ordinateur.
2. Essayez un autre câble USB
Remplacez le câble de données actuel par un autre câble USB compatible.
Notes supplémentaires
Essayez différents ports USB de l'ordinateur, y compris à la fois USB 2.0 et USB 3.0 ports.
Pour les ordinateurs de bureau, nous recommandons de connecter le clavier directement à un port USB du panneau d'E/S arrière de la carte mère plutôt que d'utiliser les ports du panneau avant, car cela peut aider à éviter d'éventuels problèmes d'alimentation ou de connexion.

1.3 Connexion Bluetooth ne fonctionne pas
Si vous rencontrez des problèmes pour connecter le clavier mécanique via Bluetooth, résolvez le problème en passant des étapes les plus simples aux vérifications plus avancées.
1. Vérifiez le niveau de la batterie
Assurez-vous que le clavier dispose d'une puissance de batterie suffisante.
2. Vérifiez le commutateur de mode physique et réappairez l'appareil
Confirmez que le commutateur de mode physique du clavier est réglé sur la bonne position Bluetooth, puis supprimez l'appairage Bluetooth existant et réappairez le clavier.
3. Testez le Bluetooth avec un smartphone
Si le clavier se connecte normalement à un smartphone via Bluetooth, le problème est très probablement lié à l'ordinateur, par exemple :
· paramètres Bluetooth de l'ordinateur
· pilotes Bluetooth
· version Bluetooth ou compatibilité
Dans ce cas, nous recommandons de contacter le fabricant de l'ordinateur pour obtenir une assistance technique.
4. Bluetooth ne fonctionne pas non plus sur un smartphone
Si le clavier ne peut pas non plus se connecter à un smartphone, la fonction Bluetooth de l'appareil peut être anormale.
Veuillez contacter le service client pour plus d'assistance.
1.4 Connexion sans fil 2,4 GHz ne fonctionne pas
Contrairement au Bluetooth, la connectivité sans fil 2,4 GHz utilise généralement un récepteur USB dédié et un système de communication RF indépendant.
Si le clavier ne parvient pas à se connecter en mode 2,4 GHz, résolvez le problème en passant des étapes les plus simples aux vérifications plus avancées.
1. Essayez un autre port USB
Connectez le récepteur USB à un autre port USB de l'ordinateur.
Nous recommandons de tester à la fois USB 2.0 et USB 3.0 ports.
2. Vérifiez le niveau de la batterie
Assurez-vous que le clavier dispose d'une puissance de batterie suffisante.
3. Vérifiez les conflits d'appareils ou de signaux
Vérifiez si d'autres appareils sans fil ou de fortes sources de signaux RF se trouvent à proximité et peuvent provoquer des interférences.
4. Réappairez le clavier et le récepteur
Si les vérifications ci-dessus ne résolvent pas le problème, suivez la procédure d'appairage de votre modèle de clavier.
Par exemple, sur le VGN V98Pro V2, la procédure d'appairage forcé 2,4 GHz est la suivante :
1. Appuyez longuement sur Fn + 4 (la touche de la rangée numérique au-dessus des lettres) pendant 3 à 5 secondes.
2. Lorsque l'indicateur sans fil commence à clignoter rapidement, connectez le récepteur 2,4 GHz à un port USB de l'ordinateur.
3. Le clavier et le récepteur devraient alors entrer dans le processus d'appairage.
Remarque : Les procédures d'appairage et les touches de raccourci peuvent varier selon les modèles. Veuillez vous référer aux instructions de votre appareil spécifique.